
Getting Started With WooCommerce


Before you can dive headfirst into getting your online store up and running, there are a few things you need to get working behind the scenes first, so that when everything is set into motion there’s no hitches or hiccups. So before we get started, here’s a quick run-through of what this blog is about – how to get started with WooCommerce, so if you’re a beginner, you’ll have no problem following along.
What is WooCommerce?
To help you set up and manage your online store, you need WooCommerce – an eCommerce platform that works with WordPress sites – it offers you incredible opportunities for customising the platform to best fit your needs by adding various extensions to help you better personalise your online store.
Benefits Of Using WooCommerce
- Secured and checked through by Sucuri, a leader in the security industry, the WooCommerce platform is a safe and reliable system for setting up an online store, helping your business to accept payment and your prospective customers feel secure inputting their payment details.
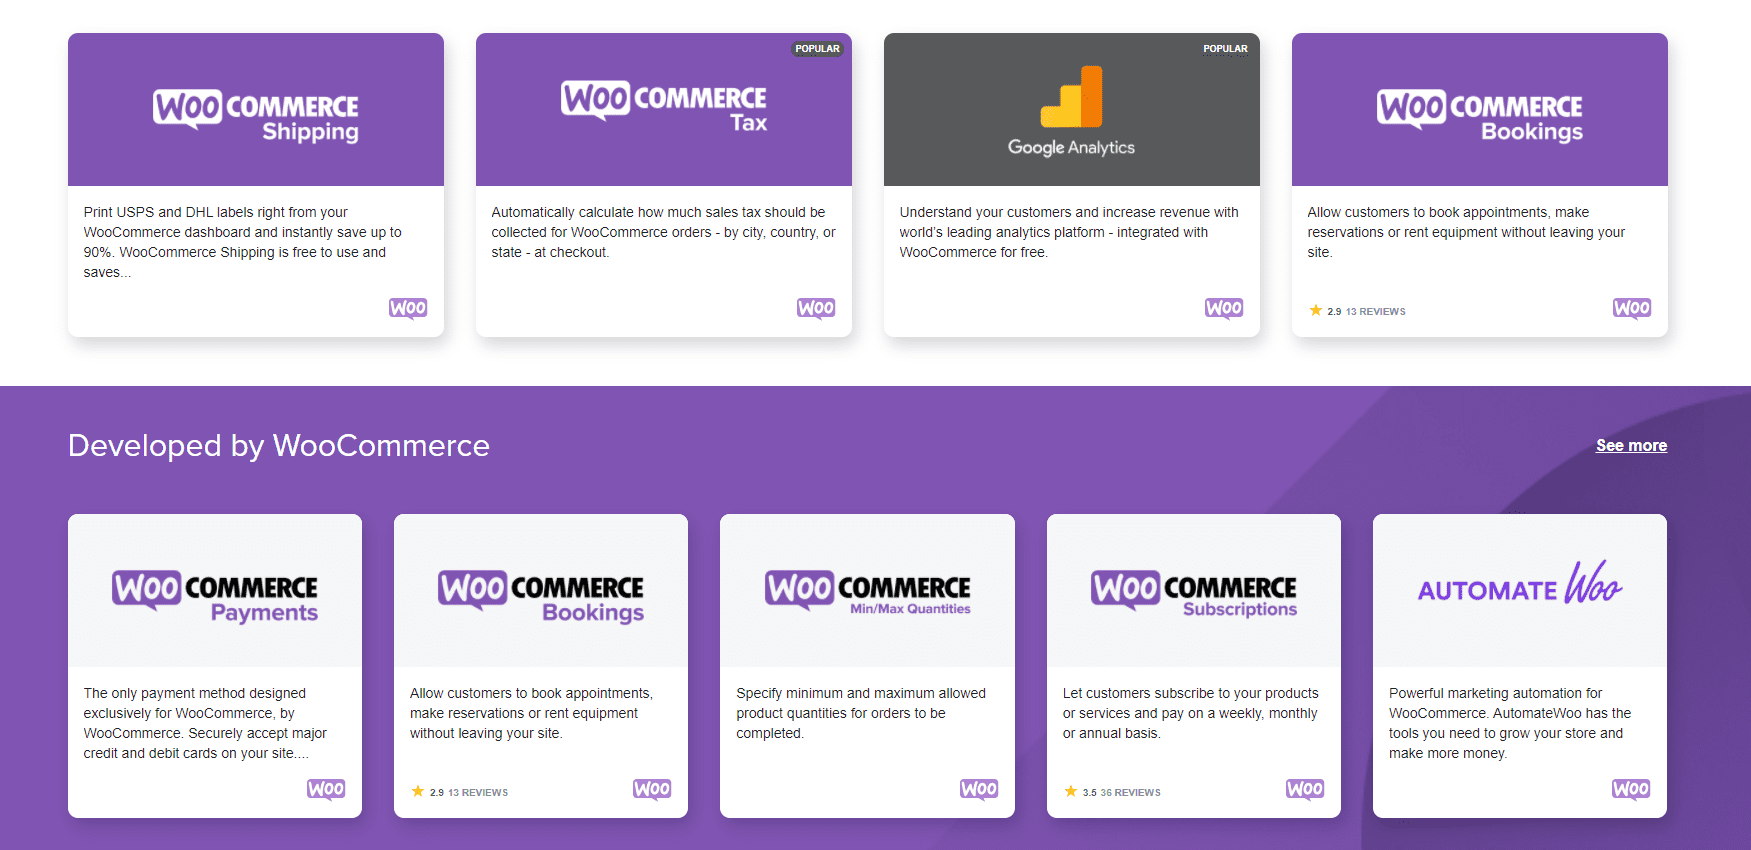
- You are able to customise the WooCommerce platform with hundreds of extensions available to make the platform better tailored to the unique processes and procedures – if you’re interested in taking a look through, you can find some options here.
- The WooCommerce plugin is free and can be set up without extensive knowledge of technical details – so no matter whether you’re a new business owner or professional with years of experience, it’s easily accessible for all.
Tips For A Successful Start-Up
- You’re going to need to have an SSL certificate on your site – this is vital so that when people may payments, they are doing so through a secure platform.
- This blog assumes that you already have a WordPress site up and running
First things first, please read the next section carefully (to make sure that you’re using the right process for you!)
- Route 1 – Need to set up WooCommerce & WordPress
- Route 2 – Setting up WooCommerce Only
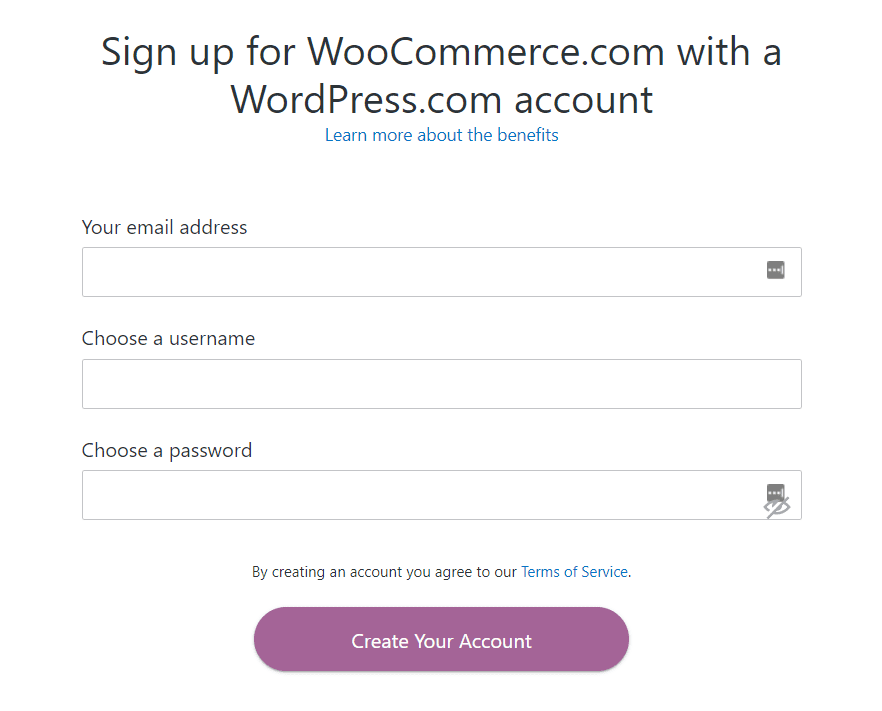
Route 1 – Need to set up WooCommerce & WordPress (External Account Creation)
If you need to sign up for WooCommerce with a WordPress account, then click here to get started.
- This is the option for people who are starting from scratch.
You will then have 3 choices for actually getting it all up and running:
- Downloading the plugin zip file and DIYing
- Pre-install option with the help of a reliable host
- Already have a WordPress website? – WooCommerce can be automatically installed
Route 2 – Setting up WooCommerce Only (Internal Set-Up On Website)
If you already have a WordPress account, then you will have 2 different options open to you when setting it up internally on your website – we’ll be walking you through how can do both throughout this blog.
Number #1
To start, you’re going to need to be logged into your website, and then select “Plugins” from the side menu to the left of your screen, you’ll then need to hit “Add New” and then “Search Plugins”. You’ll just need to input “WooCommerce” and then click on the result once it pops up – simply install, then activate and WooCommerce is now up and running on your website.
OR…
Number #2
You can download the plugin for WooCommerce, and then log into the relevant website, select:
- “Dashboard”
- “Plugins”
- “Add New”
- “Upload”
- Select the option for “WooCommerce” (which you’ve just downloaded prior)
- Finally, you can click “Install” and then “Activate
The Actual Set-Up
This applies regardless of if you chose Route 1 or 2 to get your website up and running.
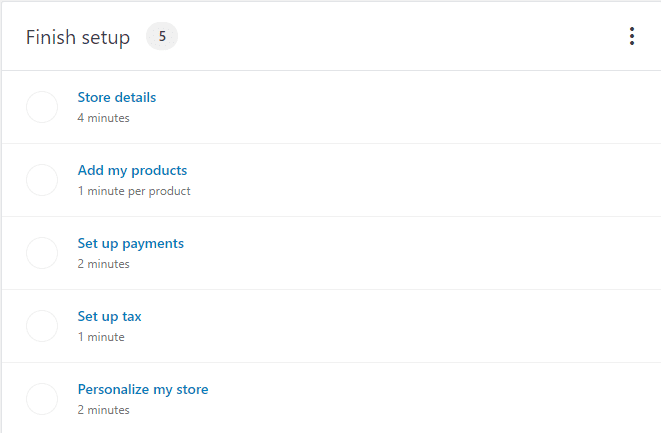
When you are looking to get your WooCommerce Store set up, you will be able to see this screen after selecting “WooCommerce” from the sidebar and then click the option for “Home”
Here you will be able to see all of the stages that you need to go through to successfully get your WooCommerce store up and running (and handy insight into how long the process will take you) – right now, we’ve only just got WooCommerce installed on our WordPress site, which means that we still need to go through and set up all the different aspects of our store – we’ll be walking you through how to do this in detail below.
While going through the set-up, you will notice you are prompted by the WooCommerce Wizard.
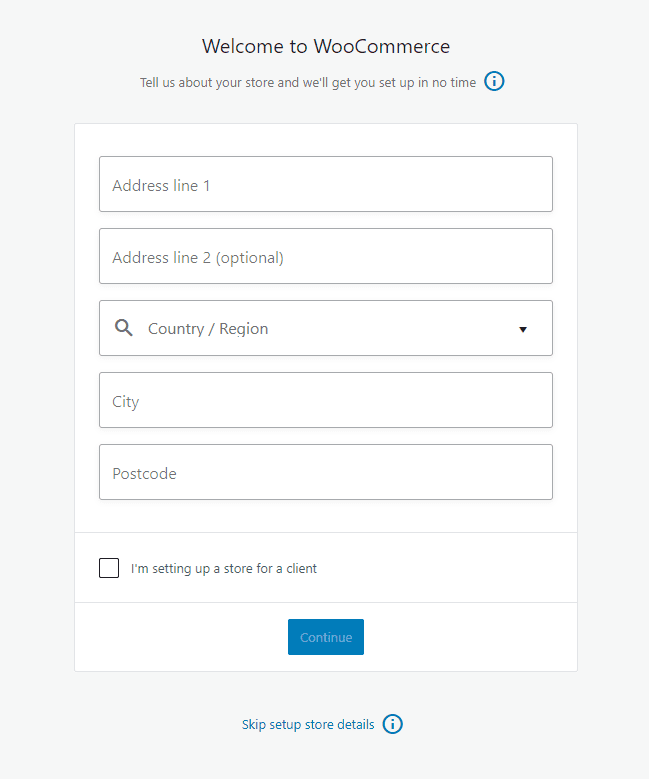
Store Set-Up
In this section, you will need to input information about the physical store – all of which can be seen in the screenshot below – simply input all the relevant data and that’s the first step done!
- If you are setting up the store for a client then make sure to select that box.
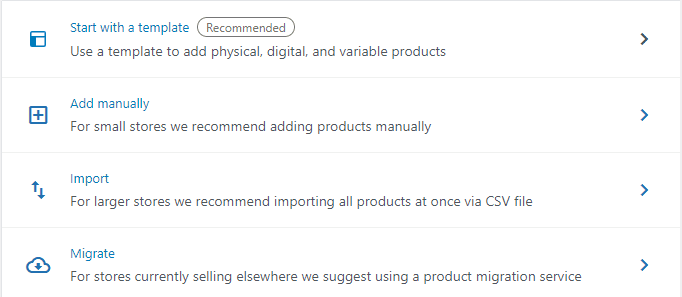
Adding Products
In this section, you will need to choose whichever option is best fitting of your needs (although if you have hundreds of products, then “Add Manually” probably isn’t the optimal option 🙂 ) – as with the other sections, the WooCommerce Wizard will guide you through the correct steps to go through.
(In this blog we’re giving you more of a general overview of the type of screens you’ll be presented with, and any recommendations we have to make things a bit simpler as you go – i.e. what the best options are for getting things done quickly and efficiently).
Payment
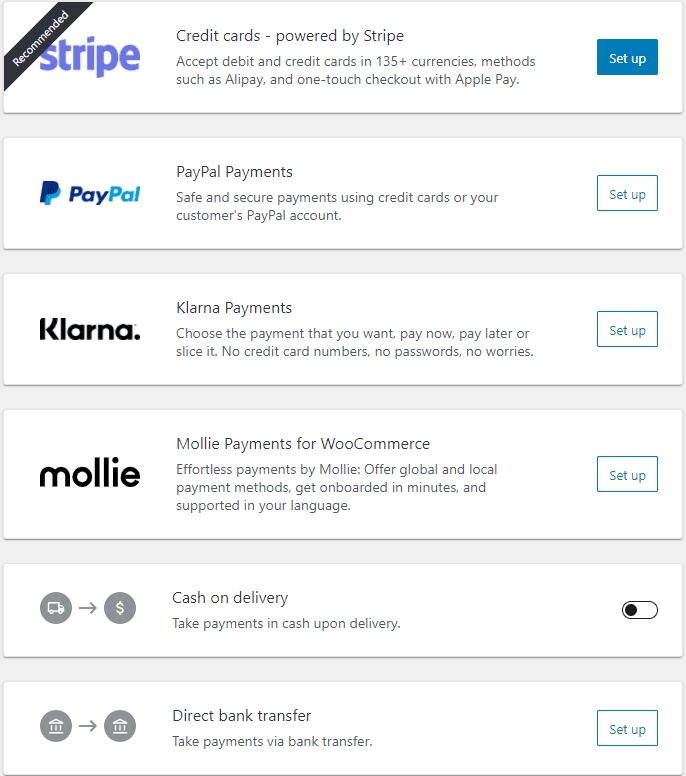
Here you’re going to need to choose the type of payment system that you want to use on your site – if you’re going through the steps on the back-end of your website, you will be able to see this screen – giving you the option to “Set Up” any payment system that you’d like to employ.
The system we most often use is Stripe, and the set-up is nice and easy – you can even create an account as you’re setting up your WooCommerce Store without having to open up a new tab, just fill in the details required and you’re ready to go!
-
- You can also go through and select options you’re happy with for “Offline Payments” – the choices that you make when it comes to Payment options will be of your personal preference and the type of products that you provide.
- i.e. if it’s a digital product that you’re selling like an ebook that people can download, then “Cash on delivery” is unlikely to be a viable option for you.
- You can also go through and select options you’re happy with for “Offline Payments” – the choices that you make when it comes to Payment options will be of your personal preference and the type of products that you provide.
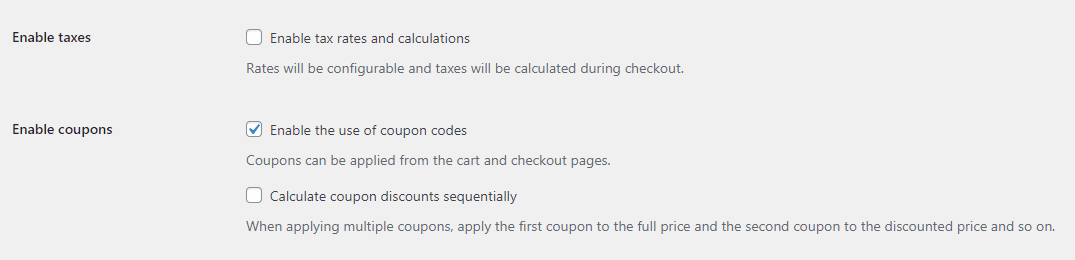
Taxes Settings
If you haven’t already set up your company location, you’ll need to do that as this will affect the Tax settings that apply to the products/services that you provide.

After you have gone to the “Tax Rate Settings” the screen below is what you will be able to do – simply tick the boxes which apply to you (you can even decide if you’re happy for coupons to be used on your website here – if you feel like giving your customers the occasional bonus or discount).
Alternatively, if you’d like to simplify things for yourself even further, make sure that you check out the free WooCommerce Tax Automation plugin (available in more than 30 countries) which will automatically calculate the suitable tax processes depending on the store location you inputted during set-up.
To save you a bit of time, you can click here to check it out.
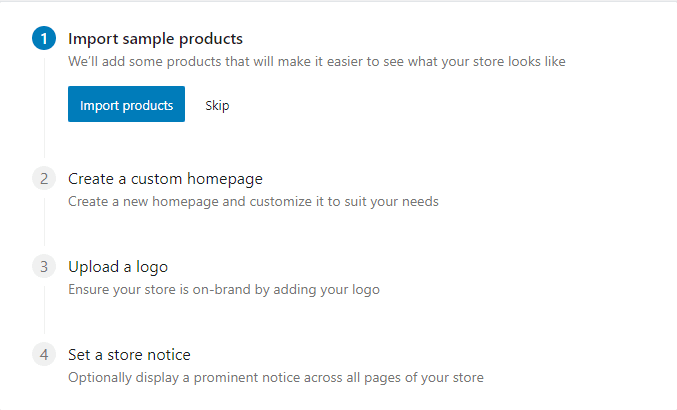
Store Personalisation
The fifth and final phase in setting up your WooCommerce Store – here is where you can really make your WooCommerce store your own, and we’re going to walk you through the 4 key phases that you can see in this screenshot below:
-
Import Sample Products
If you want to gain a better idea of what your WooCommerce Store is going to look like, then feel free to hit “Import Products” – if you want to get acquainted with the new software, see how you can alter and delete products then this is your opportunity!
In case you’re curious as to what your sample products might be – here’s an example:
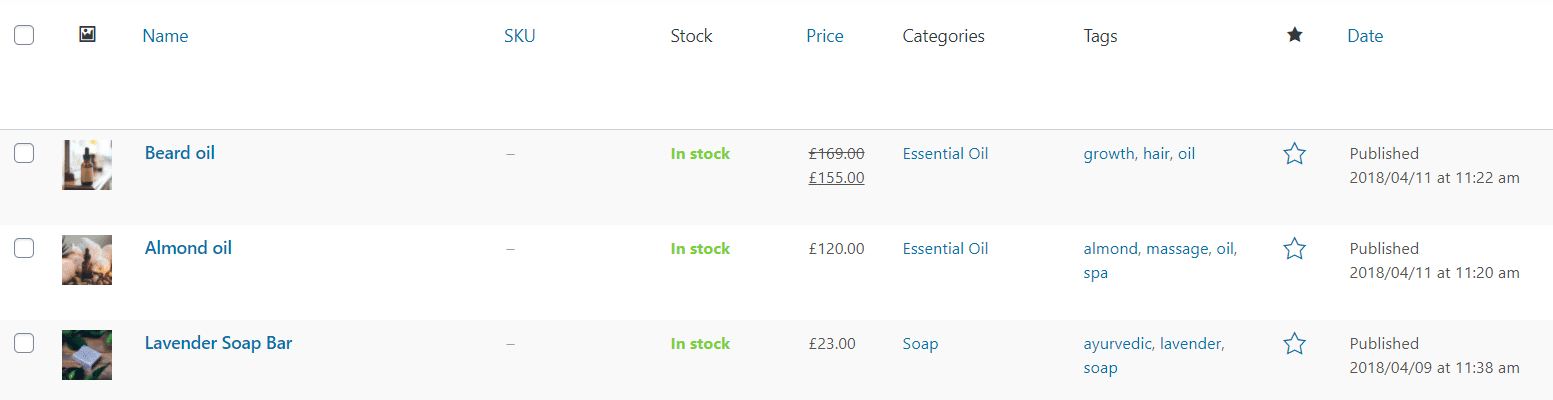
This screen is ideal for helping you to keep track of all the different products that your business has to offer, it takes into account key information about each individual item such as:
- If it is in stock
- What price you’ve retailed the product at
- The categories and tags that you have labelled your products with – i.e. you can see in the example that both “Beard Oil” and “Almond Oil” have the tag of “Oil” and category “Essential Oil”.
-
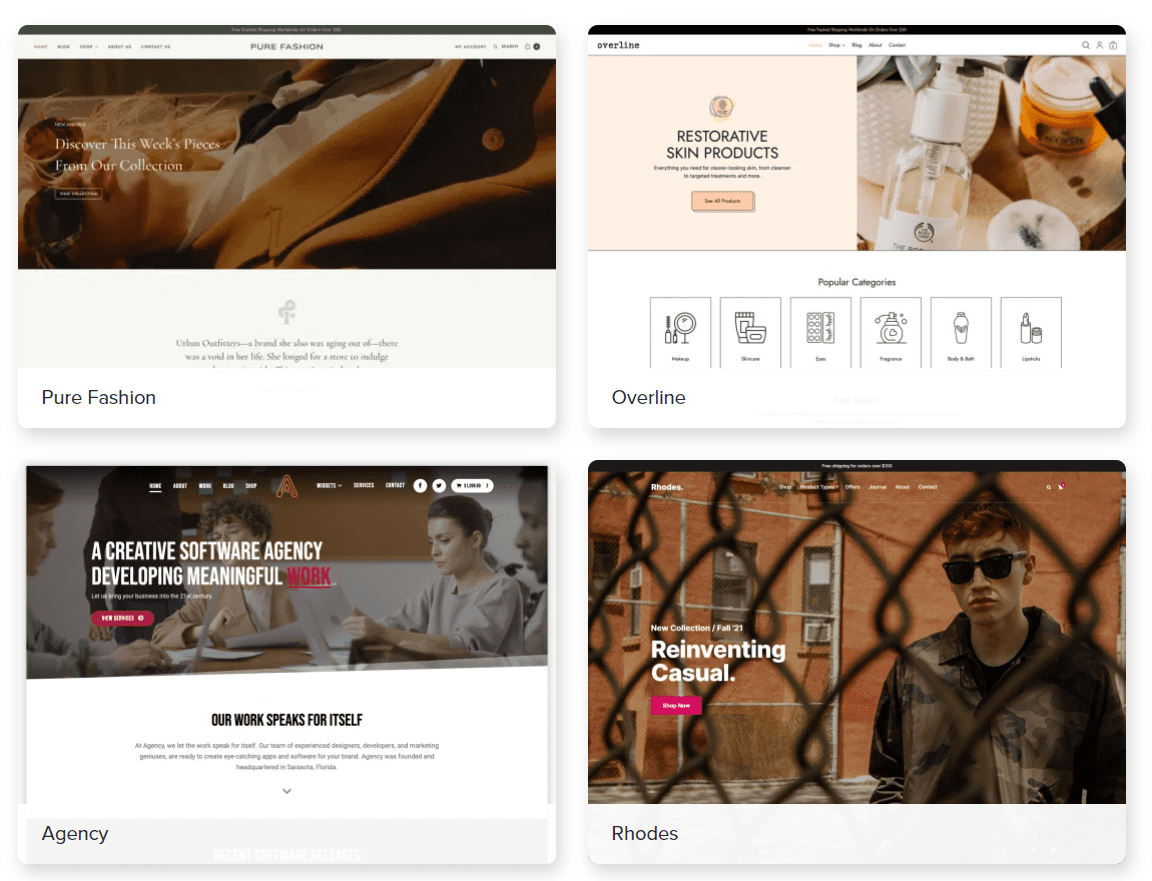
Create A Custom Homepage
To effectively customise your homepage, you’re going to need to pick a theme to get you started – check out the example below to see the options available to you – this will just be your starting point, as you’ll be able to personalise it even further with your own products – this can just be a great place to get started from:
-
Upload A Logo
If you are a user of WordPress 4.5+ and also Storefront 2.0+, then you will have the ability to put a custom logo onto your store – if you’d like to do this, then just follow the steps we’ve outlined here:
- Select “Appearance” and then “Customise”
- Click the option for “Site Identity”
- Hit the “Select logo” button
- Choose your logo and you’re one step closer to customising your site completely!
- Don’t forget to click the “Save & Publish” button to make sure everything gets updated.
![]()
-
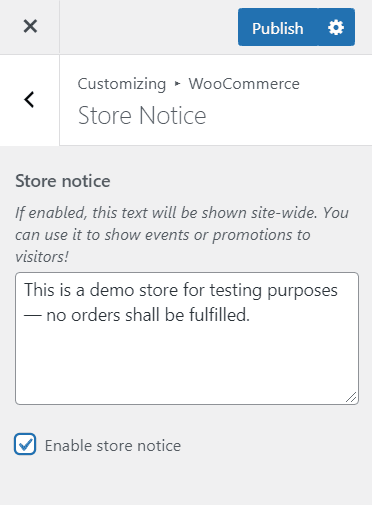
Set A Store Notice
If you’d like to set up a notice which displays across your entire website then this is the section for you – to help you along the way, we’ve outlined the steps you’ll need to go through to make that a reality.
Make sure you are logged into the correct WordPress website and have selected the dashboard and then select these in the following order:
- “Appearance”
- “Customise”
- “WooCommerce”
- “Store Notice”
- Input what you would like your store notice to say – i.e. if you have a big event you want to get more eyes focused on, this can be a great way to do it!
- Just underneath that, you’ll see a checkbox: “Enable Store Notice” – just select it and the blue tick will appear like in the example below.
Thanks for reading!
This has been your walkthrough of Getting Started With WooCommerce and understanding the different steps and phases you need to go through to successfully set up your WooCommerce store.
We hope you found this guide to have some useful insights – if you did, then make sure to check out our other blogs – which have all been designed to help you get your business set up in the world of digital marketing.